In this tutorial, I’ll show you several quick and easy techniques for retouching portraits using Adobe Photoshop.
There are entire books written on retouching portraits—many books in fact. This tutorial does not aim to substitute all that information. Rather than spending a lot of time on many individual steps in retouching photos, this tutorial aims to provide a quick overview of several techniques.
We’ll be working with this photograph:

We won’t focus on theory so much as applying different tools from here on out.
Arrange your workspace
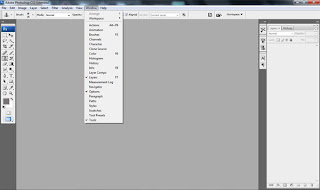
For the most efficient workflow, it may be worth your while to get in the habit of arranging your workspace. Photoshop has many palettes, but we are only going to use the toolbar palette, Layers and the history palette.
You can save your workspace as a preset for quick editing in future jobs.
History log
Go to Edit->Preferences-> Performance and set the history states to 50.
This will give you more flexibility as you can go back and see your
progress and/or improve any of the techniques you have used.
If you find Photoshop running much slower, revert to your default setting.
Molding Features with Liquify
The Liquify tools are incredibly useful in molding features without destroying too much information. Watch how I apply it do several areas of the model below:
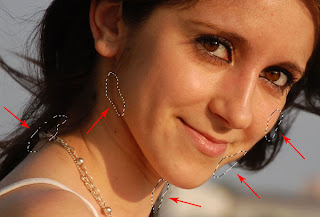 First I open the Liquify panel ( Filter->Liquify ), choose the Forward Warp Tool
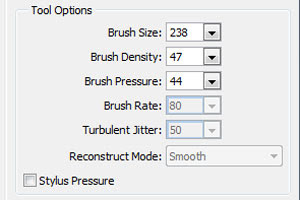
These are the settings I’ve used for the Forward Warp Tool. The brush size can vary of course depending on the region you want to modify.For the jaw region I’ve used a brush size of 238 and for the lips somewhere around 130.However,don’t take these values for granted.
Each photo, and each part of a photo will need careful consideration in tool settings. Since this is a larger photo, we use larger brush sizes.
Cleaning Up Skin with the Clone Stamp
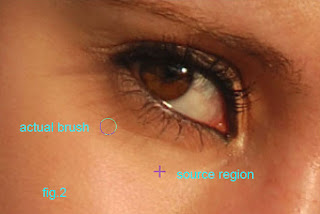
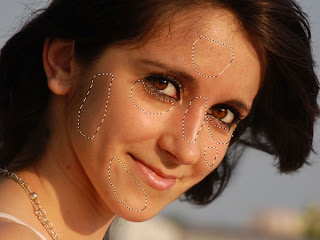 There are many ways to clean skin in Photoshop. Here is a super easy way using the Clone Stamp Tool.oom in to a level where you are comfortable and you can see the details. Now look for a region of skin with a similar color range to the one you want to fix. Usually I choose an area which is close to the part I want to fix ( fig2 ) . Choose the Clone Stamp tool and select the source region (hold alt to select it ) and set the opacity to somewhere around 30%. The key is to use low opacity values but many , many strokes rather than few strokes and a high opacity value. By using this technique , you will preserve the details and not wash out the skin.
I have used the Clone Stamp tool to get rid of the wrinkles , especially those near the corner of the lips and the ones around the bottom part of the eyes. Be careful not to overuse the Clone Stamp tool or else you will lose the skin texture and create flat planes on your face. Fake looking skin is a common error in the practice of retouching photos.
Tip: create snapshots to keep track of your progress and also zoom out often to have an overview of what you have done so far.
Get rid of Wrinkles with the Healing brush
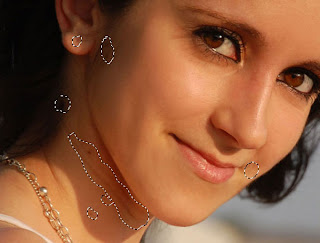
Use the Healing Spot Brush to correct small skin issues like independent blisters or wrinkles. Set the type brush to proximity match for more accurate results.
We’re not going to dive into any theory or arguments over best practices here, but be sure to keep in mind that wrinkles are natural in skin. Don’t get rid of too much.
Quick Tips for Eyes & lips
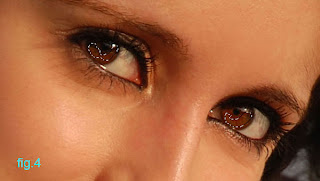 The Dodge and Burn tools are useful in emphasizing the eyes and lips in a portrait. I Select the Dodge tool, set the exposure to 12% and “dodge” the areas indicated in Fig4. This will lighten the colors. To create contrast ( thus we’ll create emphasis on the eyes) we need to use the Burn tool with an exposure of 12%. "Burn" the pupil, the outer part of the iris, the eyelashes and the area under the eyebrows.
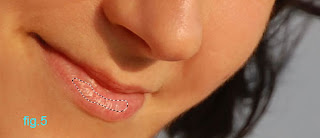
Also, I use the Dodge tool to accentuate the highlights from the lips (Fig5.)
Hair Styling
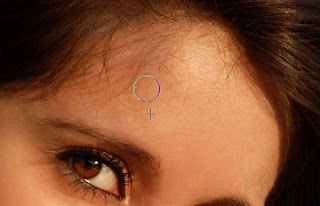
Taking care of rebellious hairs can be achieved with the Clone Stamp Tool once more.
I use the Clone Stamp Tool in this portrait to get rid of forehead hair and some of the hair near the model’s ear.
Adding a Touch of Contrast with Levels
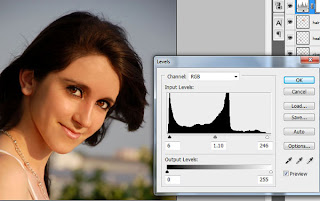
Sometimes, you may wish to add just a bit more contrast to your portrait shot. This can be done very quickly with Levels.
Go to Image->Adjustments-> Levels ( CTRL + L ) and set the values as seen in the pic above. This darkens the shadows and boosts the highlights.
For more details on basic lighting and color adjustments, you may wish to read Tutorial9’s posts on Curves in Photoshop and the Basics of Color Correction, both by Owen James.
Before & After


[Via tutorial9.net]
One more tutorial about how to process objects in Photoshop by using design engineering skills.
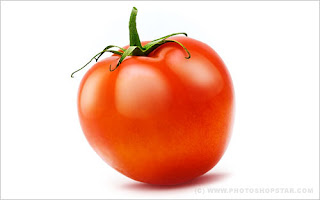
In the beginning you should find some appropriate photo to work with. I prefer to use photo of tomato. Feel free also to use your own photos. Open up your photo and start to process it. The first step that I would like to do is to remove all defects from tomato surface (we have some damaged area from the left upper side).
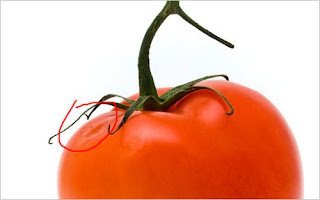
Select the Clone Stamp Tool (Brush: 40 px, Opacity: 100%) and hold down the Alt key — the cursor will change to a target. Click the point you wish to use as a sampling point. This will be used as the reference point for cloning. Click and draw where you want the cloned image to appear. As you draw, a cross will appear on the original image while a corresponding circle appears where you are drawing.
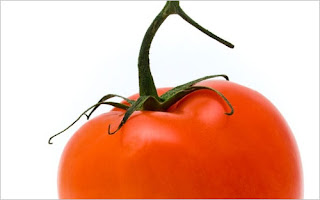
Ok, after removing defects I would like to add a few glares to our tomato surface. Set up foreground color as white, then select Pen Tool and try to create the same area as you can see on the picture below.

Rasterize this shape with Layer > Rasterize > Shape. Than apply Filter > Blur > Gaussian Blur with next presets:
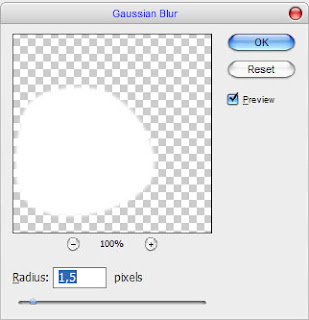
After applying this filter result should be next:
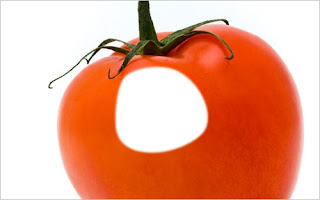
Ok, now set up opacity to 60%, after that use the Eraser Tool and soft round brush about 40 pixels to make small clean work.

Add a few more strokes on the same way. Try to experiment with layer opacity for each layer to get better different looking results.
 Merge all layers with glare in one, somewhere glare is above the leaves, it shouldn’t be like this, just use the Eraser Tool to remove glare on leaves area.
 The result should be similar to the picture which you can see below:
 After that I want to add some global reflection from white background to tomato. For this effect create a new layer, then use the Brush Tool (soft brush with radius about 125 pixels) and draw curve line with white color as you can see on my picture:
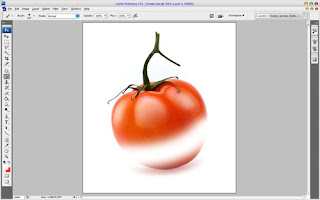 Then change layer style to Overlay and set up opacity to 57% for current layer.
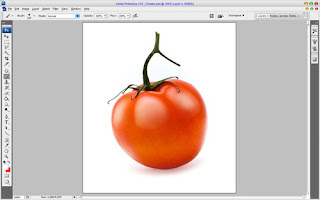 Ok, looks better as before, isn’t it? Move to the next step. Time to process green leaves. Merge all layers in one, after that use the Dodge Tool (Brush: 100px, Range: Midtones, Exposure: 30%) to make dark part of tomato stalk which is located on center a little bight brighter.
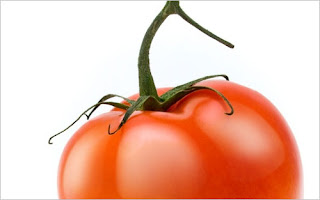 Then I would like to reduce tomato stalk length. Use the Brush Tool and hard round brush about 20 pixels remove part of tomato as shown on the picture below:
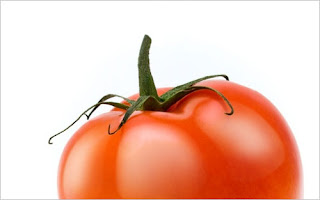 Now, time to improve color depth, relief and texture for stalk. It will be better to bring more contrast between green stalk and red tomato. For this effect use the Polygonal Lasso Tool to select stalk area.
 Then press Ctrl+C to copy it to the new layer, now we can experiment with out green stalk and leaves. In the beginning we should correct green color balance and saturation. Use Image > Adjustments > Levels (or press Ctrl+L) and set up following presets for Green and Blue channels:
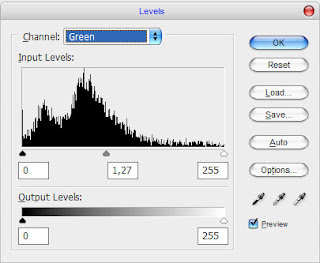
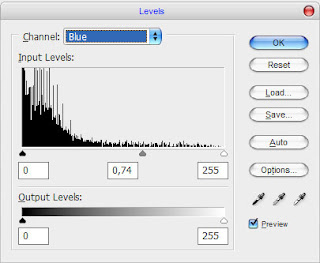 Your result should be the same as mine:
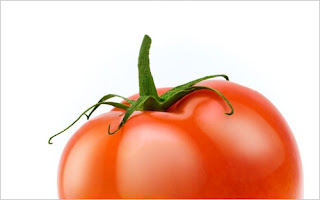 After that apply Filter > Sharpen > Sharpen:
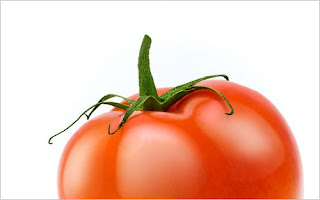 Ok, now we need to add a few lines with light green color (#dddd84). Select the Brush Tool and a soft round brush about 1 pixel to add these lines on the new layer.
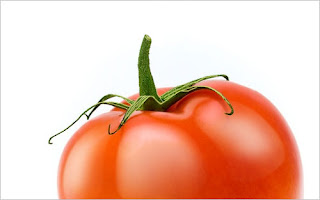 Then use Blur Tool to blur it a little bit and change layer mode to Overlay. We got light contrast on our leaves area.
 Move to the next step. Now I would like to add some white gradients to light leaves area. Select the Polygonal Lasso Tool again and create area which you like to process and fill it with white to transparent gradient.
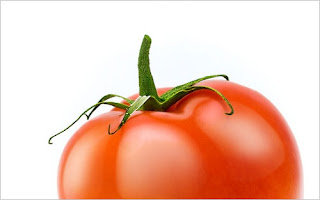 Add more gradients to different part of tomato stalk.
 Remove selection with Ctrl+D. Ok, looks better for now, isn’t it? And the last one thing that we need to do is to add shadow on the tomato bottom. Merge all the layers in one. Then use the Polygonal Lasso Tool again to create selection which you can see on my picture and fill it with color of #9c2c2c.
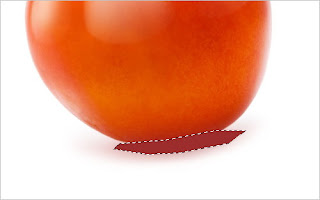 After that remove selection and apply Filter > Blur > Gaussian Blur with similar settings to these:
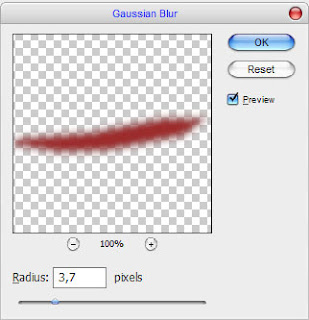 See the difference now:See the difference now:
 Then apply Filter > Blur > Motion Blur and set up next presets:
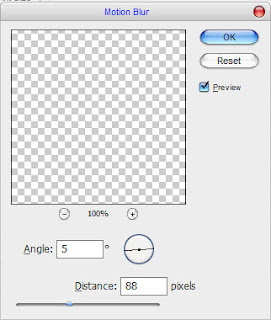 Change layer mode to Multiply for current layer and set up opacity to 85%.
 After that use the Eraser Tool to clean shadow effect on tomato area.
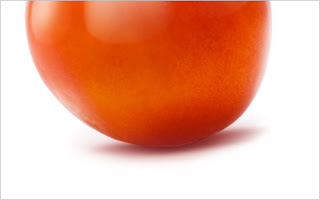 Ok, merge all layers in one with Shift+Ctrl+E. To finish off the tutorial duplicate new layer with Ctrl+J and apply Filter > Blur > Gaussian Blur to blur image about 2 pixels. Then mess with the layer mode & opacity/fill. I tried Soft Light with opacity of 50%.
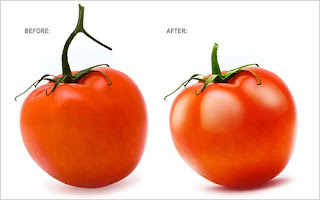
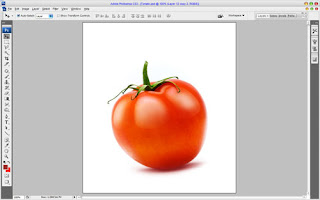 Now you can check our photo before and after:
 That’s it for now!
[Via Photoshopstar]


