One more tutorial about how to process objects in Photoshop by using design engineering skills.
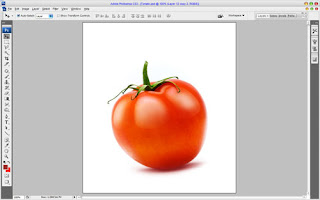
In the beginning you should find some appropriate photo to work with. I prefer to use photo of tomato. Feel free also to use your own photos. Open up your photo and start to process it. The first step that I would like to do is to remove all defects from tomato surface (we have some damaged area from the left upper side).
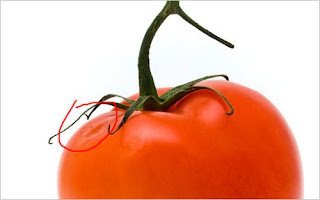
Select the Clone Stamp Tool (Brush: 40 px, Opacity: 100%) and hold down the Alt key — the cursor will change to a target. Click the point you wish to use as a sampling point. This will be used as the reference point for cloning. Click and draw where you want the cloned image to appear. As you draw, a cross will appear on the original image while a corresponding circle appears where you are drawing.
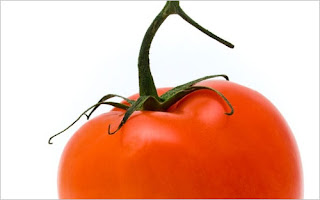
Ok, after removing defects I would like to add a few glares to our tomato surface. Set up foreground color as white, then select Pen Tool and try to create the same area as you can see on the picture below.

Rasterize this shape with Layer > Rasterize > Shape. Than apply Filter > Blur > Gaussian Blur with next presets:
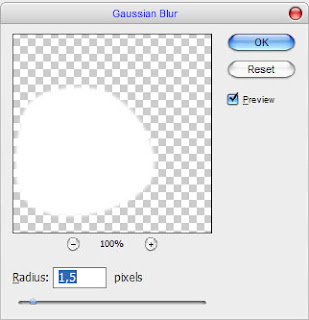
After applying this filter result should be next:
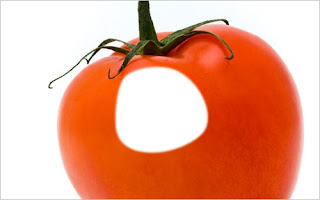
Ok, now set up opacity to 60%, after that use the Eraser Tool and soft round brush about 40 pixels to make small clean work.

Add a few more strokes on the same way. Try to experiment with layer opacity for each layer to get better different looking results.
 Merge all layers with glare in one, somewhere glare is above the leaves, it shouldn’t be like this, just use the Eraser Tool to remove glare on leaves area.
 The result should be similar to the picture which you can see below:
 After that I want to add some global reflection from white background to tomato. For this effect create a new layer, then use the Brush Tool (soft brush with radius about 125 pixels) and draw curve line with white color as you can see on my picture:
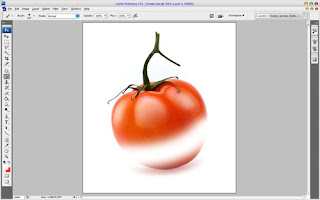 Then change layer style to Overlay and set up opacity to 57% for current layer.
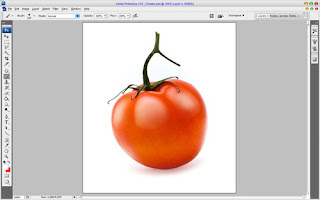 Ok, looks better as before, isn’t it? Move to the next step. Time to process green leaves. Merge all layers in one, after that use the Dodge Tool (Brush: 100px, Range: Midtones, Exposure: 30%) to make dark part of tomato stalk which is located on center a little bight brighter.
 Then I would like to reduce tomato stalk length. Use the Brush Tool and hard round brush about 20 pixels remove part of tomato as shown on the picture below:
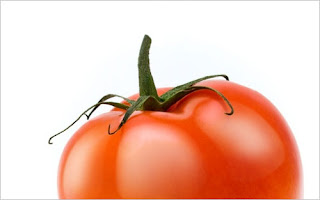 Now, time to improve color depth, relief and texture for stalk. It will be better to bring more contrast between green stalk and red tomato. For this effect use the Polygonal Lasso Tool to select stalk area.
 Then press Ctrl+C to copy it to the new layer, now we can experiment with out green stalk and leaves. In the beginning we should correct green color balance and saturation. Use Image > Adjustments > Levels (or press Ctrl+L) and set up following presets for Green and Blue channels:
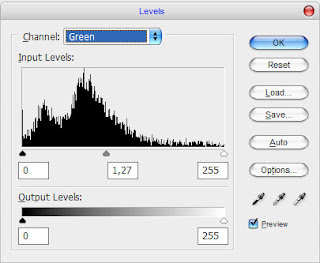
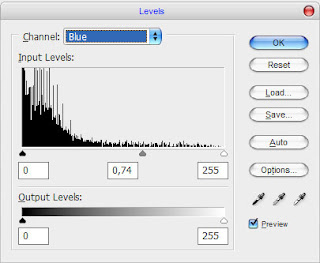 Your result should be the same as mine:
 After that apply Filter > Sharpen > Sharpen:
 Ok, now we need to add a few lines with light green color (#dddd84). Select the Brush Tool and a soft round brush about 1 pixel to add these lines on the new layer.
 Then use Blur Tool to blur it a little bit and change layer mode to Overlay. We got light contrast on our leaves area.
 Move to the next step. Now I would like to add some white gradients to light leaves area. Select the Polygonal Lasso Tool again and create area which you like to process and fill it with white to transparent gradient.
 Add more gradients to different part of tomato stalk.
 Remove selection with Ctrl+D. Ok, looks better for now, isn’t it? And the last one thing that we need to do is to add shadow on the tomato bottom. Merge all the layers in one. Then use the Polygonal Lasso Tool again to create selection which you can see on my picture and fill it with color of #9c2c2c.
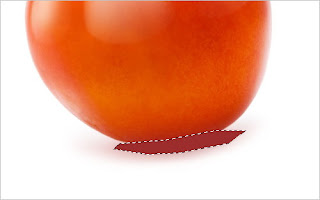 After that remove selection and apply Filter > Blur > Gaussian Blur with similar settings to these:
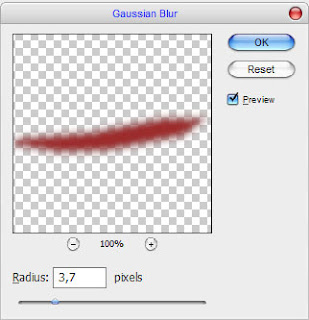 See the difference now:See the difference now:
 Then apply Filter > Blur > Motion Blur and set up next presets:
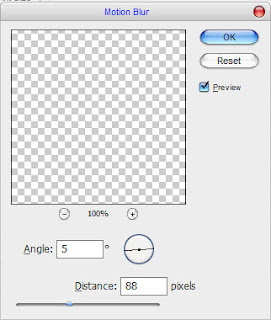 Change layer mode to Multiply for current layer and set up opacity to 85%.
 After that use the Eraser Tool to clean shadow effect on tomato area.
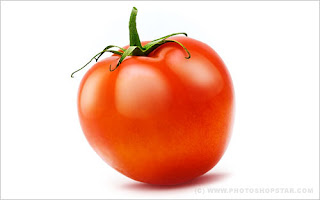
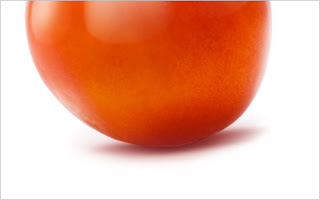 Ok, merge all layers in one with Shift+Ctrl+E. To finish off the tutorial duplicate new layer with Ctrl+J and apply Filter > Blur > Gaussian Blur to blur image about 2 pixels. Then mess with the layer mode & opacity/fill. I tried Soft Light with opacity of 50%.
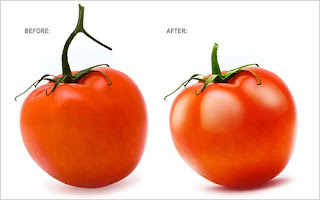
 Now you can check our photo before and after:
 That’s it for now!
[Via Photoshopstar]
Saturday, May 29, 2010
//
Labels:
Skills in Photoshop
//
0
comments
//
0 comments to "Engineering Skills in Photoshop"




Post a Comment